28.06.2017

Some memories from my Australian workshops :)

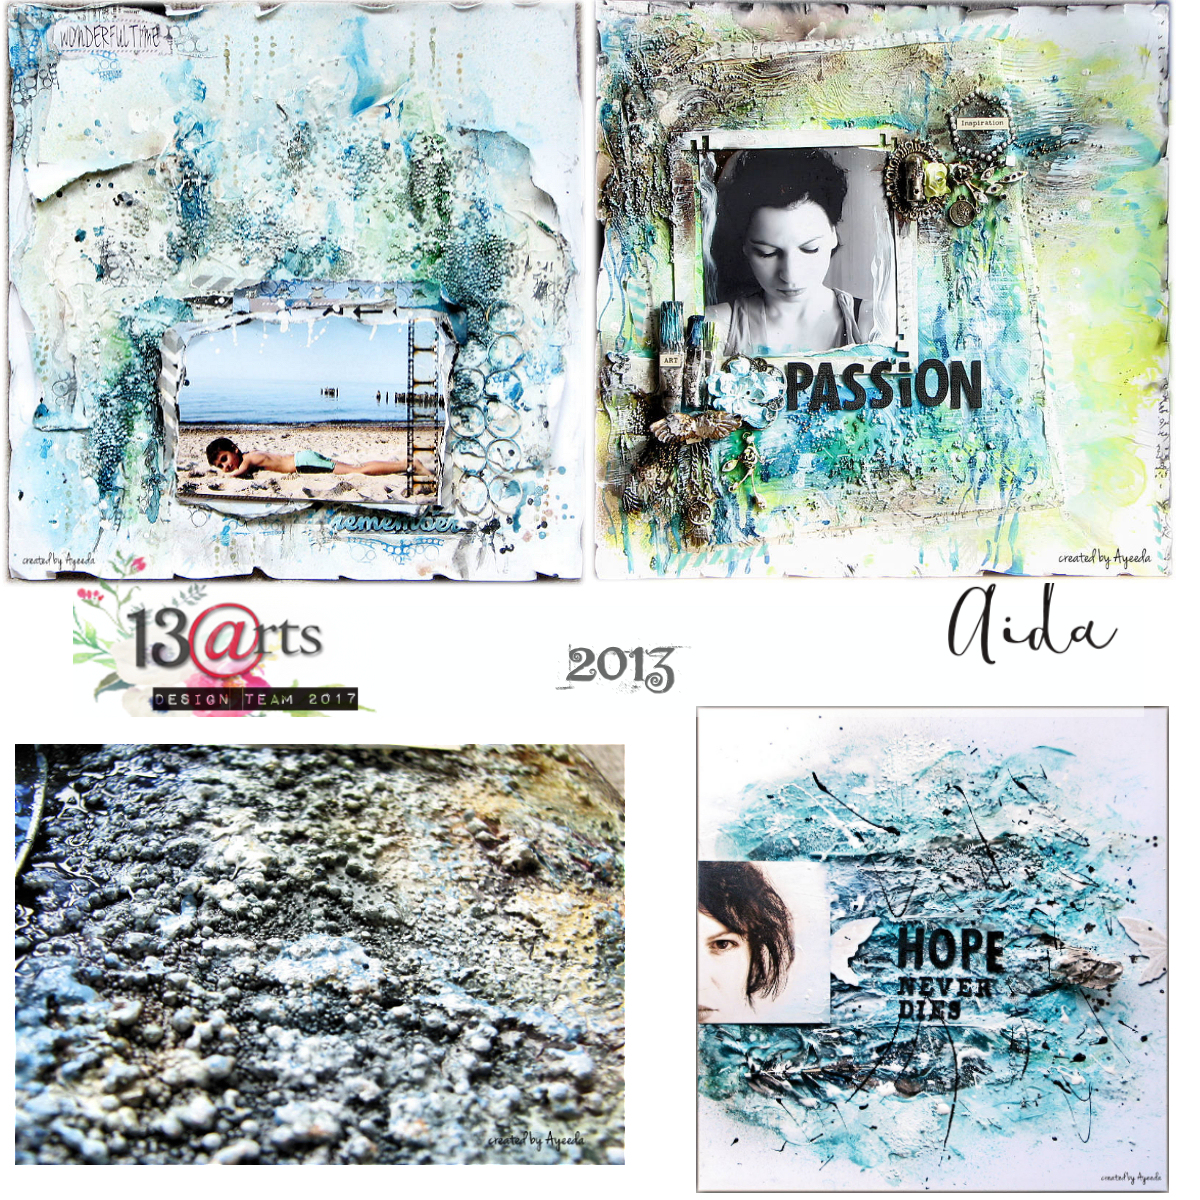
Witajcie kochani, czas ucieka niezwykle szybko, warsztaty, wyjazdy i oczywiście praca nad nowościami, które już niedługo ujrzą światło dzienne, spowodowały, że ciągle nie wrzuciłam jeszcze relacji z ostatnich podróży warsztatowych. Bardzo lubię dzielić się z Wami ta niezwykła energią, kocham uczyć, dzielić się wiedzą i warsztaty "na żywo" to jest coś co lubię robić najbardziej poza tworzeniem. Poprzednio pokazywałam Wam moją niezwykłą podróż do Nowej Zelandii, dziś krótka relacja z Australii, którą na bardzo króciutko odwiedziłam własnie w drodze powrotnej z NZ. 
Dwa dni - 4 warsztaty w SCRAPMATRIX zobaczcie co tam się działo :)


Hello dear friends. Time is passing by so quickly lately, workshops, travels and of course working on new products, which will be revealed soon are taking all my time and I still did not manage to share with you my memories from Australian workshops. I have visited SCRAPMATRIX store in Victor Harbor (SA) on my way back from New Zealand and taught 4 workshops over 2 days.  You can find many 13 arts products in the store and for sure you will find new releases there as well. 

It was very short but amazing adventure and I was so happy to meet Vicki and all the wonderful people there (special thanks to Helen and Naomi :*). It was my dream to step my foot again on Australian soil again after 17 years, and I really do hope to be back again for few days longer some day LOL :D  Look how wonderful time we all had and we even made the local paper "Victor Harbor Times"  - READ MORE HERE:)

Thank you Vicki for making it happen and for your hospitality and kindness :*


After about one hour drive from Adelaide we have arrived at Scrapmatrix:


Vicki has beautiful store and workshops space and look how she prepared everything perfectly:


Ana we started the fun :) 


I don't have photos from all the workshops we were so busy I forgot to take photos LOL

I have borrowed some photos from Scrap Matrix fp:)


Look at some projects created by the students:


After 2 amazing days in South Australia I have poped in to visit Sydney.


This visit was definitely too short but soooo worth it :)
Australia and Australian people have a special warm place in my heart and I really do hope to be back there soon. For now, we have new amazing collection coming soon from our Aussie super talented designer Fiona Paltridge, so we can have a small piece of Australia in our houses by using her designs :) 

xoxo
Ayeeda


24.06.2017

Mixed media canvas and some microbeads history ;)

Today at 13 arts blog we present our microbeads based projects. 
As you all know,  I have a long term relationship with microbeads in my art projects;) I use them to decorate, but mostly for textures. Beside's my new projects I wanted to show you some of my older works, true history of beads :) You can use them to any creations: cards, altered item, layouts, they are one of my favorite products.

Dzisiaj na blogu 13 arts prezentujemy inspiracje z wykorzystaniem mikrokulek. Zapraszam po więcej inspiracji, a ja oczywiście chciałabym pokazać Wam moją pracę oraz mały przegląd moich starszych projektów z kulkami;) Prawdziwa historia mikrokulek LOL :)

First please have a look at my canvas, I used some cardstock as a bee nest, and I have put different sizes of microbeads all over it and more beads around my project.


Some details:


I used 13 arts:
Other: Cardstock, resin elements, chipboards

~ ~ ~ ~ ~ ~
And here is my little history :)
As you can see I've stared with regular beads and then fell in love with 13 arts glass beads.


Have you used our beads? If you have,  you can leave some links in the comments, I would love to see your projects with them.

23.06.2017

Mixed media canvas for Scrapberry's

Hello, it's Aida here and today I want to show you my mixed media canvas with all the Scrapberry's goodies.
I have created the colorful background using only Scrapberry's Stains inks and sponge brushes, you can see few steps of the process below.
After I was happy with the results I've added some stencil designs and then few layers of Primavera papers, beautiful flowers and other embellishments to my project. 
Here is the final result:


To create similar background use 2-3 colors of stain inks, sponge brush and some water to make your sponge wet.  You can apply the ink directly from the pad 


or mix with water first to make more watercolor effect.
You can also add the same diluted colors on your elements using a brush


here are the details of final project:


List of materials:

Primavera Papers
STAINS INKS: scb 1210509, scb1210503, scb
1210502
Melisa Frances: Resins Architectural Molding CX822, CX851
Epoxy stickers scb 34001081b
Ribbon scb510102
Buttons
Flowers: scb290403, scb300107, scb300104, SCB290403,
SCB300215
Leaves: scb300601
xoxo
Aida

LinkWithin

Related Posts Plugin for WordPress, Blogger...